SPROUTS – Bottle Gardens

Materials

large clear jar with wide opening and lid
clear tape; old spoon; a cotton ball; two long skewers
gravel or small stones; potting soil mix; small indoor plants

* to make long handled tools that will reach into your jar
tape the spoon to one wooden skewer
tape the cotton ball to the other wooden skewer

Instructions

find a work surface that can be wiped clean

spoon about 3cm of gravel into the bottom of the jar
add about 6-7cm of potting soil mix and gently press

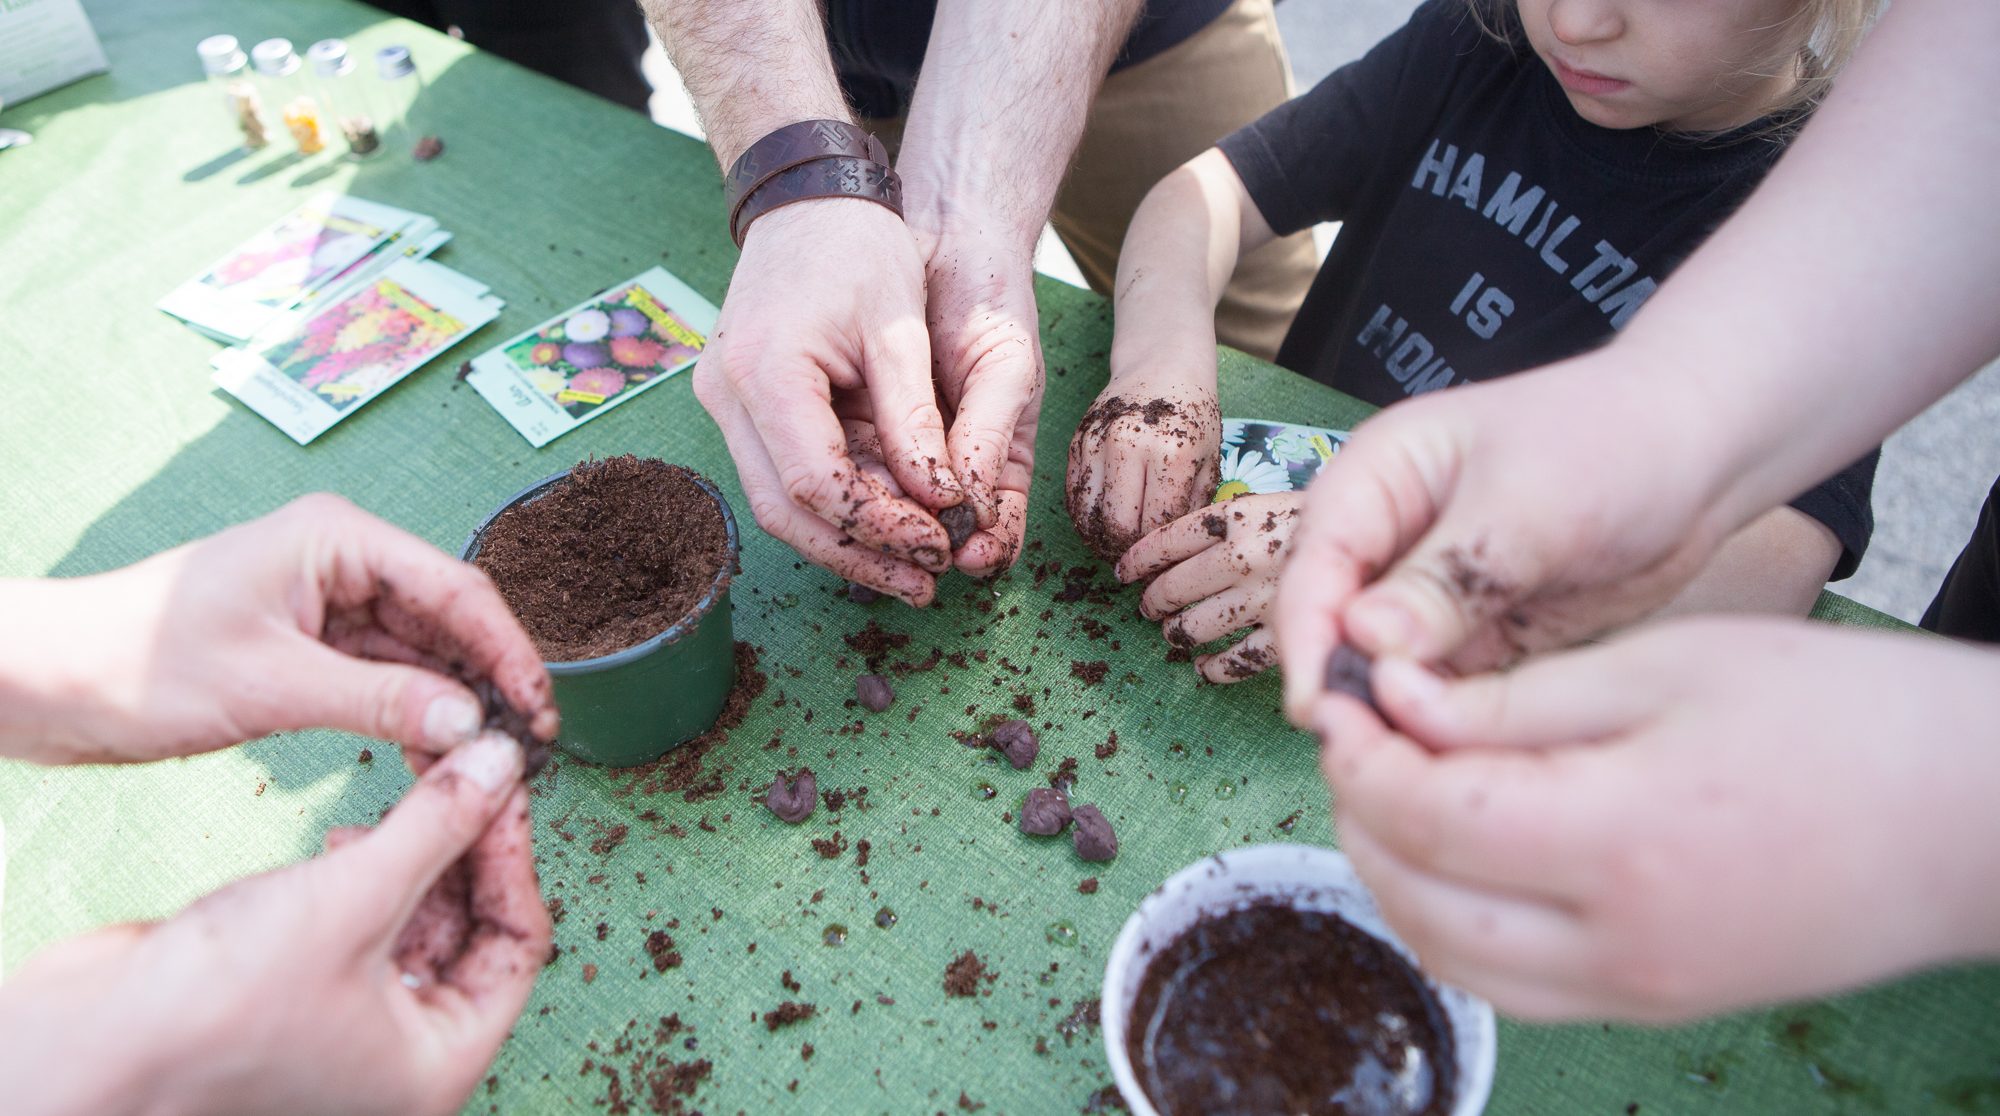
use the spoon to make a hole in the potting soil
add one of the plants and press the soil gently in place

use as many plants as you have to fill your jar
or place one in the center and let it grow

dip the cotton ball in water and squeeze it out
use this cleaning tool to wipe the sides of the jar

Finishing

remember to clean your work surface and tools

place your bottle garden in a bright area out of direct sun

water the bottle garden once a week to start,
paying attention to how much water is left each time
some plants dry quickly, others don’t need much water

over time as your bottle garden grows you can remove
some plants to make space, or add new ones for interest
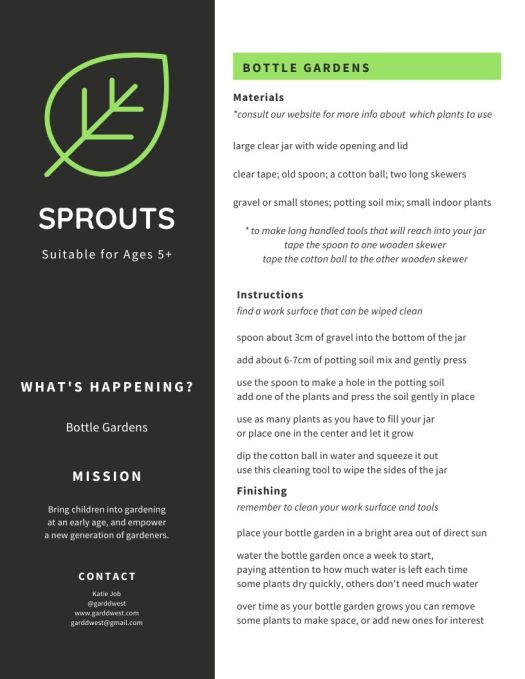
Download Activity as PDF

April 7 - SPROUTS - Bottle Gardens - Garddwest EcoEducation

GOING GREEN – Bottle Gardens

Materials

large clear jar with wide opening and lid
clear tape; old spoon; a cotton ball; two long skewers
gravel or small stones; potting soil mix; small indoor plants

* to make long handled tools that will reach into your jar
tape the spoon to one wooden skewer
tape the cotton ball to the other wooden skewer

Instructions

find a work surface that can be wiped clean

spoon about 3cm of gravel into the bottom of the jar
add about 6-7cm of potting soil mix and gently press

use the spoon to make a hole in the potting soil
add one of the plants and press the soil gently in place

use as many plants as you have to fill your jar
or place one in the center and let it grow

dip the cotton ball in water and squeeze it out
use this cleaning tool to wipe the sides of the jar

Finishing

remember to clean your work surface and tools

place your bottle garden in a bright area out of direct sun

water the bottle garden once a week to start,
paying attention to how much water is left each time
some plants dry quickly, others don’t need much water

over time as your bottle garden grows you can remove
some plants to make space, or add new ones for interest
Download this Activity as PDF

April 7 - GOING GREEN - Bottle Gardens - Garddwest EcoEducation

GOING GREEN – Windowsill Edible Gardens


Materials

beans or seeds
lettuce/greens are ideal, or select DWARF varieties to plant
small amount of damp potting soil (not dripping wet)
paper towel, cup of water
jar lid or shallow dish with lip
recycled containers for planting

Instructions

fill each container with damp potting or seed starting soil
gently pat the surface but don’t press the soil too hard

sow seeds according to packet instructions
roughly as deep as the seed is large
i.e. 2cm bean, planted 2cm deep

small seeds can be scattered across the surface
of the soil, then covered with a thin layer of soil

for larger seeds, make a small hole in the soil wit
h
a pencil or skewer and gently push the seed into the hole

make sure all seeds are deep enough, and covered by soil
use a spray bottle to water thoroughly after planting

REMEMBER to label everything!

Finishing

place the containers on a bright windowsill out of direct
full-day sun, or plants may get too hot and “bolt”

water thoroughly and evenly every day
don’t let the plants dry out but don’t drown them either!

as the plants grow, thin out smaller or weaker ones

Download this Activity as PDF

MORE RESOURCES:

April 6 - GOING GREEN - Windowsill Gardens - Garddwest EcoEducation